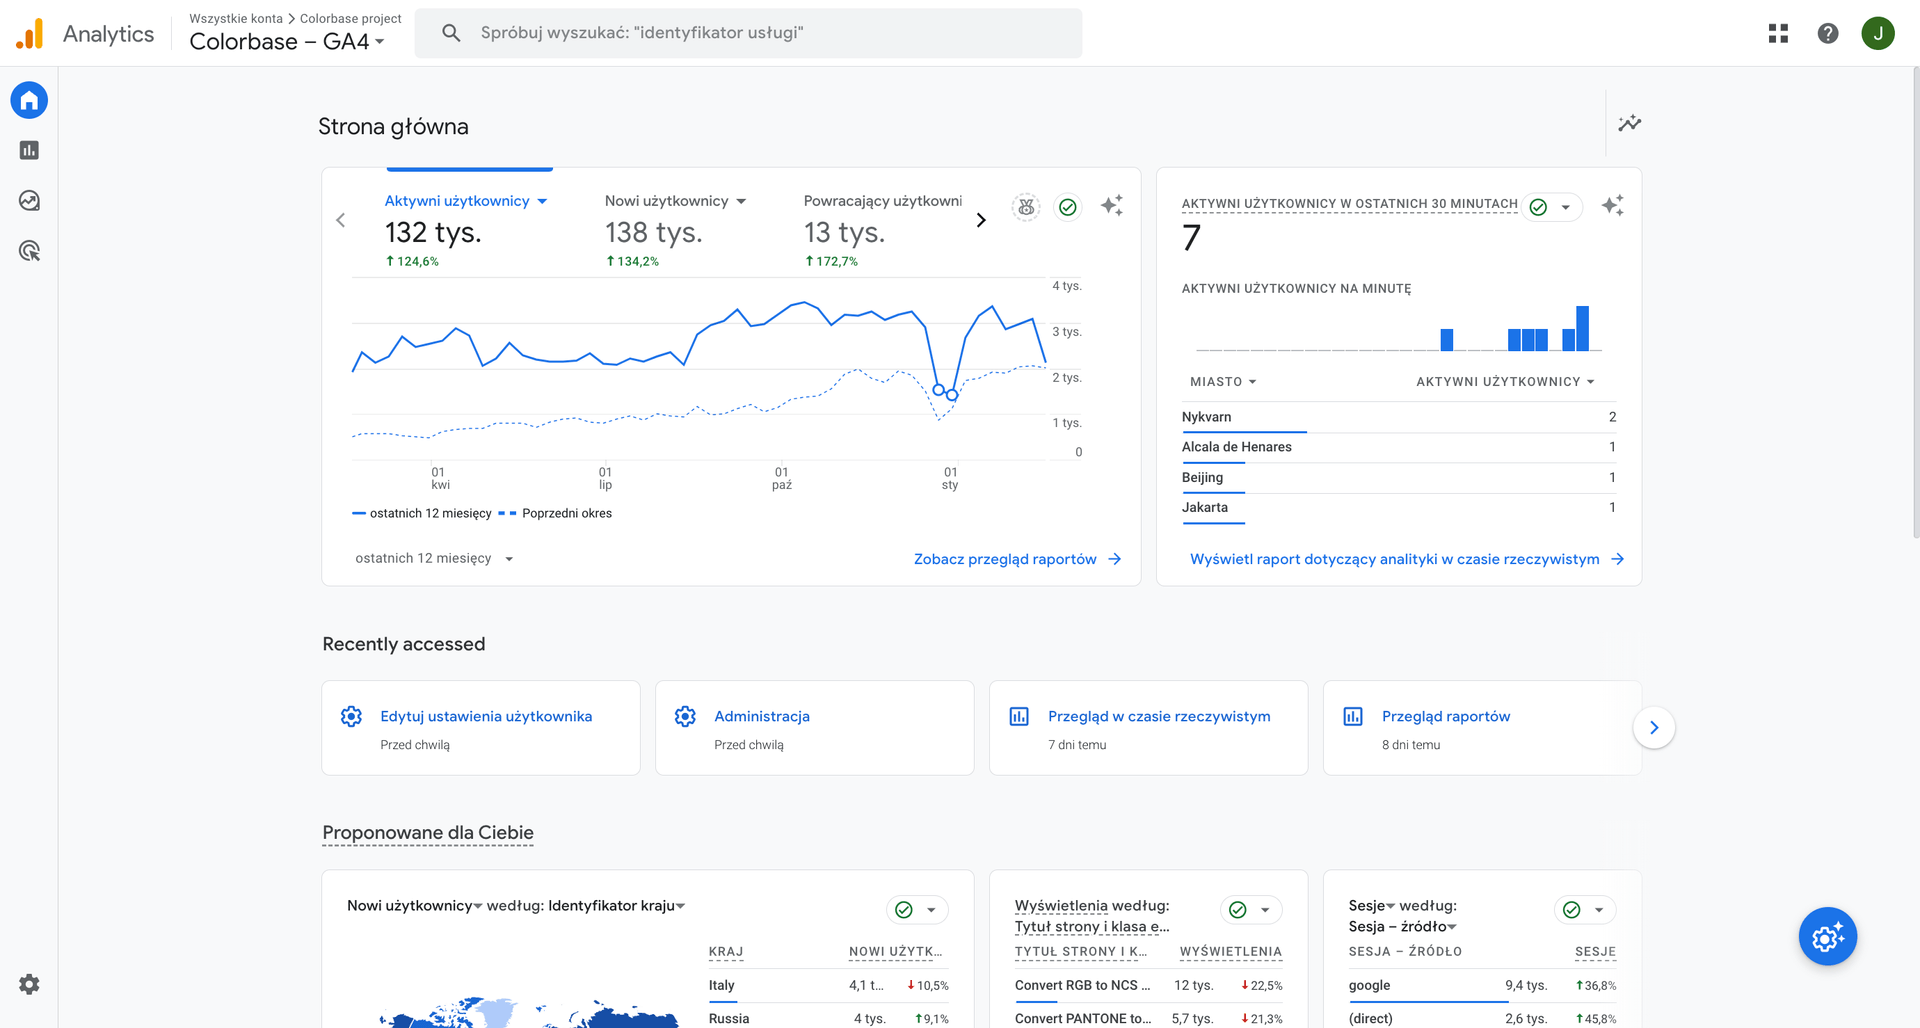
In this part we explore how to integrate GTM, GA4, Consent Mode v2 and enchanced e-commerce events for GA4 with the headless Woo setup and superfunky theme on Netlify.
Configuring Netlify’s post processing script injection

First of all we need to add some scripts to the post-processing part in this location:
Go to: https://app.netlify.com/sites/yoursite/configuration/deploys#post-processing
Replace /yoursite/ with the actual name of Your project.
You need to set up the following scripts in the correct order from 1 to 4 in the correct place (body or head) in the netlify admin.
- 1. TCF – Enabled tcf support for Google tag – before
</head> - 2. DCV – Default consent values – before
</head> - 3. GTM Script – before
</head> - 4. GTM noscript – before
</body>

Here you can find the contents of each required code for the integration to work:
TCF code
<!-- Enabled tcf support for Google tag -->
<script>
    window ['gtag_enable_tcf_support'] = true;
</script>

<!-- DCV code sets Consent Mode v2 initial values -->
<script>
    window.dataLayer = window.dataLayer || [];
    function gtag() {
        dataLayer.push(arguments);
    }
    gtag("consent", "default", {
        ad_storage: "denied",
        ad_user_data: "denied",
        ad_personalization: "denied",
        analytics_storage: "granted",
        functionality_storage: "granted",
        personalization_storage: "granted",
        security_storage: "granted",
        wait_for_update: 2500,
    });
    gtag("set", "ads_data_redaction", true);
    gtag("set", "url_passthrough", true);
</script>

<!-- Google Tag Manager -->
<script>(function(w,d,s,l,i){w[l]=w[l]||[];w[l].push({'gtm.start':
new Date().getTime(),event:'gtm.js'});var f=d.getElementsByTagName(s)[0],
j=d.createElement(s),dl=l!='dataLayer'?'&l='+l:'';j.async=true;j.src=
'https://www.googletagmanager.com/gtm.js?id='+i+dl;f.parentNode.insertBefore(j,f);
})(window,document,'script','dataLayer','GTM-XXX');</script>
<!-- End Google Tag Manager -->

<!-- Google Tag Manager (noscript) -->
<noscript><iframe src="https://www.googletagmanager.com/ns.html?id=GTM-XXX"
height="0" width="0" style="display:none;visibility:hidden"></iframe></noscript>
<!-- End Google Tag Manager (noscript) -->
Once configured move to the Google Tag manager configuration.
Configuring Google Tag Manager
Go to Tag manager, select Your project’s container.
Download this file, and import it into your Tag manager.
- 1. Go to Administration => Import Containers
- 2. Choose the downloaded configuration file.
- 3. Confirm the import
- 4. Approve and publish the changes (47 items should be included).
Congratulations, that’s it, now everything should work out of the box. You can check the status in the Assistant extension.

Configure GA4
Go to google analytics and create a property.
Then go to Data streams /admin/streams/table/
https://analytics.google.com/analytics/web/#/yourprojectid9733/admin/streams/table
Open Your data stream or create a new one of type web, click it, then open the installation instructions.

Copy and paste the tag for netlify snippet injection as described in the previous part.

Redeploy Your site, wait until it updates then go to google analytics and validate the connection.

Connect GA4 with Google Tag manager
Go to Tag manager, select your container. Select the GAEvents Tag and open it.

Copy the visible tag id:

Go back to GA4
Navigate to Data streams /admin/streams/table/
https://analytics.google.com/analytics/web/#/yourprojectid9733/admin/streams/table
Note: Replace /yourpojectid9733/ with Your ID for quick access
Select management of connected tags:

Paste the tag ID, you can optionally name it.

Congratulations thats it, You did it! Open your page in a new window and test if data shows in the realtime analytics part of GA4.

Got any problems? Visit the known errors page or contact us!

